In this post, I’ll show you step by step how the free Shapr3D interface works so you can start designing from scratch without any hassle.
We’ll cover some basics that will allow you to use Shapr3D:
- The home screen and the limits of the free version
- How to create and name projects
- The main toolbars (modeling, sketching, transformation, etc.)
- View controls, axes, and mouse navigation
- Display options, units, and using the history
Introduction to the Free Shapr3D Interface
Home screen and the limits of the free version
All the projects we have open can always be found on the Shapr3D home screen.
Besides our active projects, at the top of the home screen we can see the news section, where the program shows us new tools or features that make the design process easier.
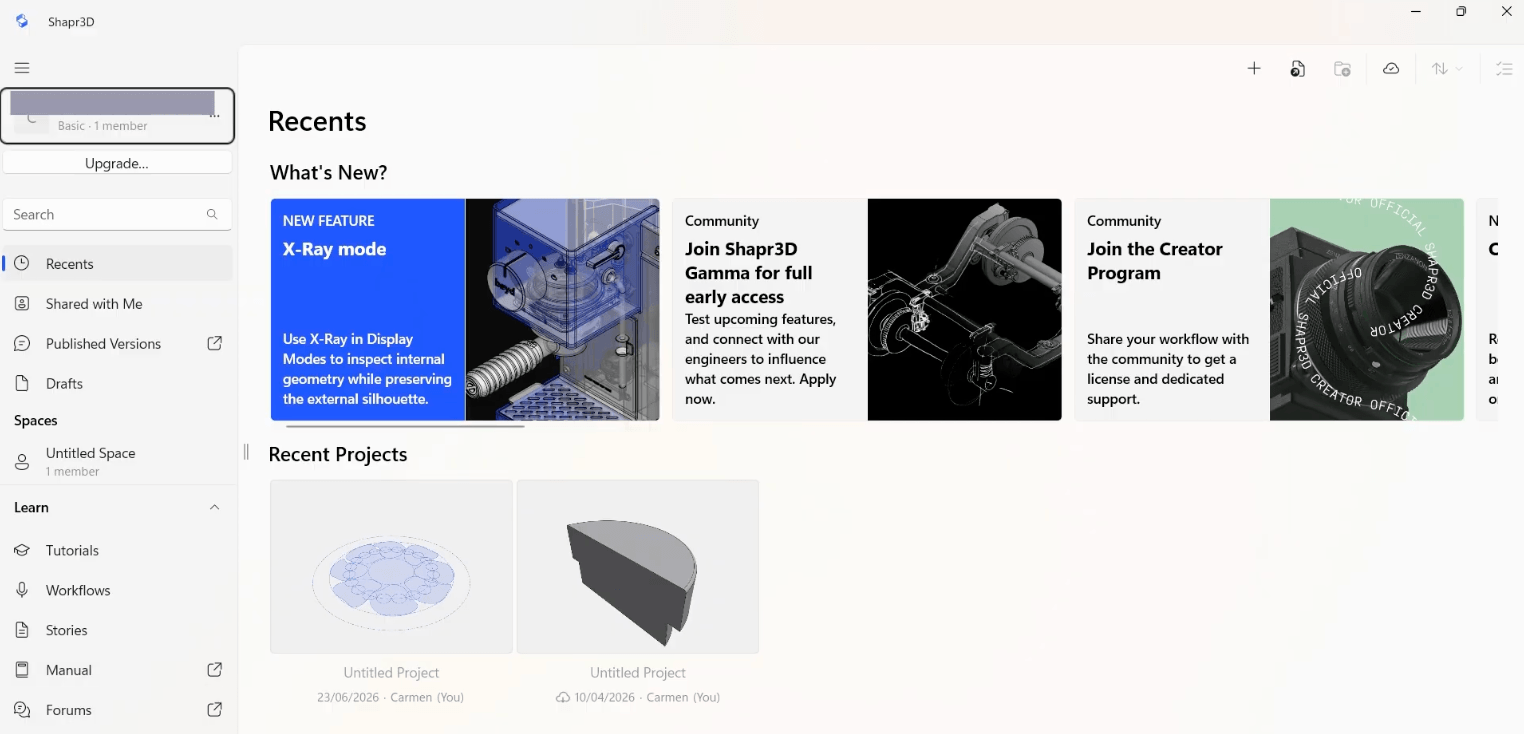
In the free version, we can have up to two projects open at the same time. The good thing about the free version of Shapr3D is that, even though we have the two-project limit, within each one we can save the designs we create without limit.
How to create and name projects?
When creating a new project, the Free Trial sign-up window will appear. This isn’t necessary in order to create (up to two) projects, so we can simply close the window and continue.
In the top bar of our new project, we’ll find the option to name our project, but we’ll also find options such as File, Edit, Item, View, and Help, as well as the essential Undo and Redo tools.
On the left side, we have the main working tools: modeling, visualization, drawing, and element management. Just below, we’ll find options such as sketches, image insertion, creation of additional planes or axes, and also transformation tools.
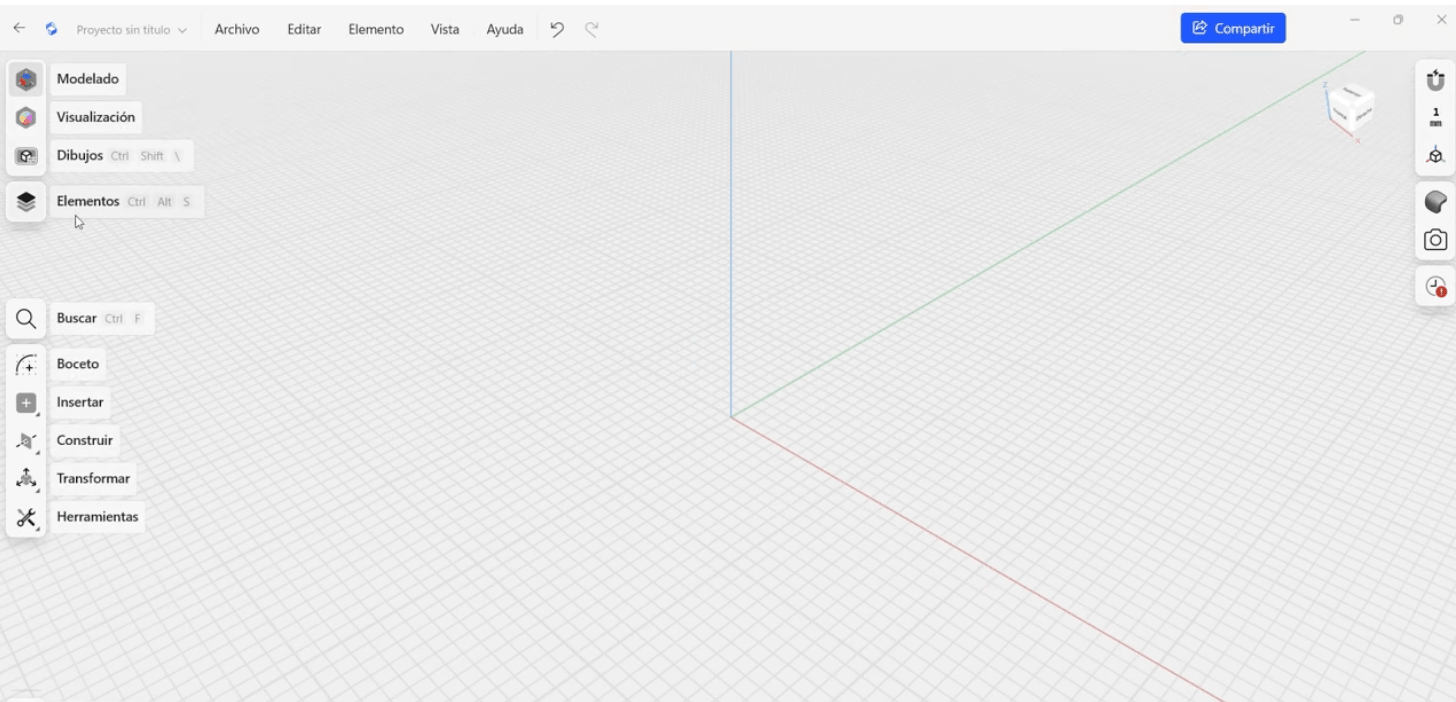
On the right side, we have important controls:
- The cube allows us to orient the view on the grid.
- The magnet icon activates precision snapping in the workspace.
- The units settings, usually in millimeters or centimeters for everyday design.
- Advanced visualization, such as curvature analysis or zebra mode, which help evaluate surfaces.
- The history section allows us to modify previous steps without having to start from scratch.
Finally, let’s remember the orientation of the axes: the Z axis in blue, the Y axis in green, and the X axis in red,
As for navigation, with the right mouse button we can move the view. With the scroll wheel, we zoom in and out. And with the left button, we select elements.
Now you have a basic overview so you can use Shapr3D and create your own designs! If you want to learn more, take a look at our 3D printing courses or sign up for one of our 3D printing workshops.