
Tinkercad, Fusion, Blender… do I have to learn them all?
This is one of the most frequent questions we receive from people who want to get started with 3D design. And it makes sense: there’s so much software available that it seems impossible to know where to begin.
The short answer: no, you don’t have to learn them all. The long answer: the best software isn’t the most powerful or the most popular, but the one that fits with how you think.
Software isn’t the goal, it’s a tool
There are a thousand lists and rankings of “the 6 best free 3D design programs,” but in practice, to get started you only need one piece of 3D design software that does two things:
- It doesn’t block you within the first five minutes.
- Lets you make something useful in a reasonable amount of time.
Choosing the right software from the start makes the difference between moving forward with confidence and giving up before you’ve printed your first piece — whether the software is free or not
To keep it simple, think of it this way:
- If 3D design feels intimidating in general → Tinkercad
- If you’re into functional, technical parts → Rhinoceros or Shapr3D
- If you’re drawn to organic, more artistic shapes → Blender
As you learn, there’ll be plenty of time later to expand your software ecosystem
What kind of software does each profile need?
Software for getting started without fear: Tinkercad
Tinkercad is the go-to entry-level software. Think of it like big, clear letters on a page: blocks, holes, combining and subtracting shapes. It’s not “pro” software, but it is open source, free to use and that’s exactly what you need at the beginning.
This software lets you understand volumes, scales, and how pieces intersect — without having to memorize 200 different icons. You can even modify basic STLs directly from its interface, no fuss required. This program is compatible with all 3D printers that use the standard STL file format.

Software for technical parts: Rhinoceros or Shapr3D
If you’re the kind of person who looks at a part and immediately thinks about tolerances, fits, screws, and measurements, this type of software speaks your language.
Rhinoceros and Shapr3D are CAD software designed for parts that need to fit together, assemblies, and functional prototypes. They also let you import STLs and perform moderate surgery on them: scaling, trimming, integrating into new designs.

Software for organic shapes: Blender
Blender is another planet within the world of 3D design software. It’s a free and open source modeling, animation and 3D rendering software that is more complex and has a notable learning curve.
But if you want smooth shapes, sculptures, jewellery with unusual volume, or experimental fashion, it’s the most interesting software to get lost in. It lets you work almost as if you were sculpting digitally.
What software do we use in Nodos 3D design courses?
In our 3D printing workshops we don’t work with “one single saving software.” We choose the software based on the phase of the process and the prior knowledge of our students: one for thinking through the structure, another for refining the shape, another for testing variations
The idea isn’t for you to master the entire available software ecosystem, but to have the right tool to get your next idea out of your head and one step closer to the physical world. When that software starts to feel limiting, that’s when it’ll be time to open another one.
The full journey: from basic to advanced software
Phase 1 — Entry-level software: Tinkercad
If you’ve never touched 3D design software before, this is where we start. We work with cubes, cylinders, and spheres that get combined, cut, and deformed. It’s the perfect software for understanding something essential: a design has volume, thickness, and weight. The interface is very simple, so you can focus on understanding space instead of wrestling with the program.
Goal: lose the fear and prove to yourself that anyone can build a 3D object.
Phase 2 — Professional CAD software: Shapr3D
Once that foundation is solid, we move on to Shapr3D — CAD software designed for product design with a very intuitive interface. With this software you learn to:
- work with exact measurements
- create parts that fit together
- better control curves, wall thickness, and the relationship with the body
This is the point where your designs start to look like something that could come straight out of a professional 3D printer.
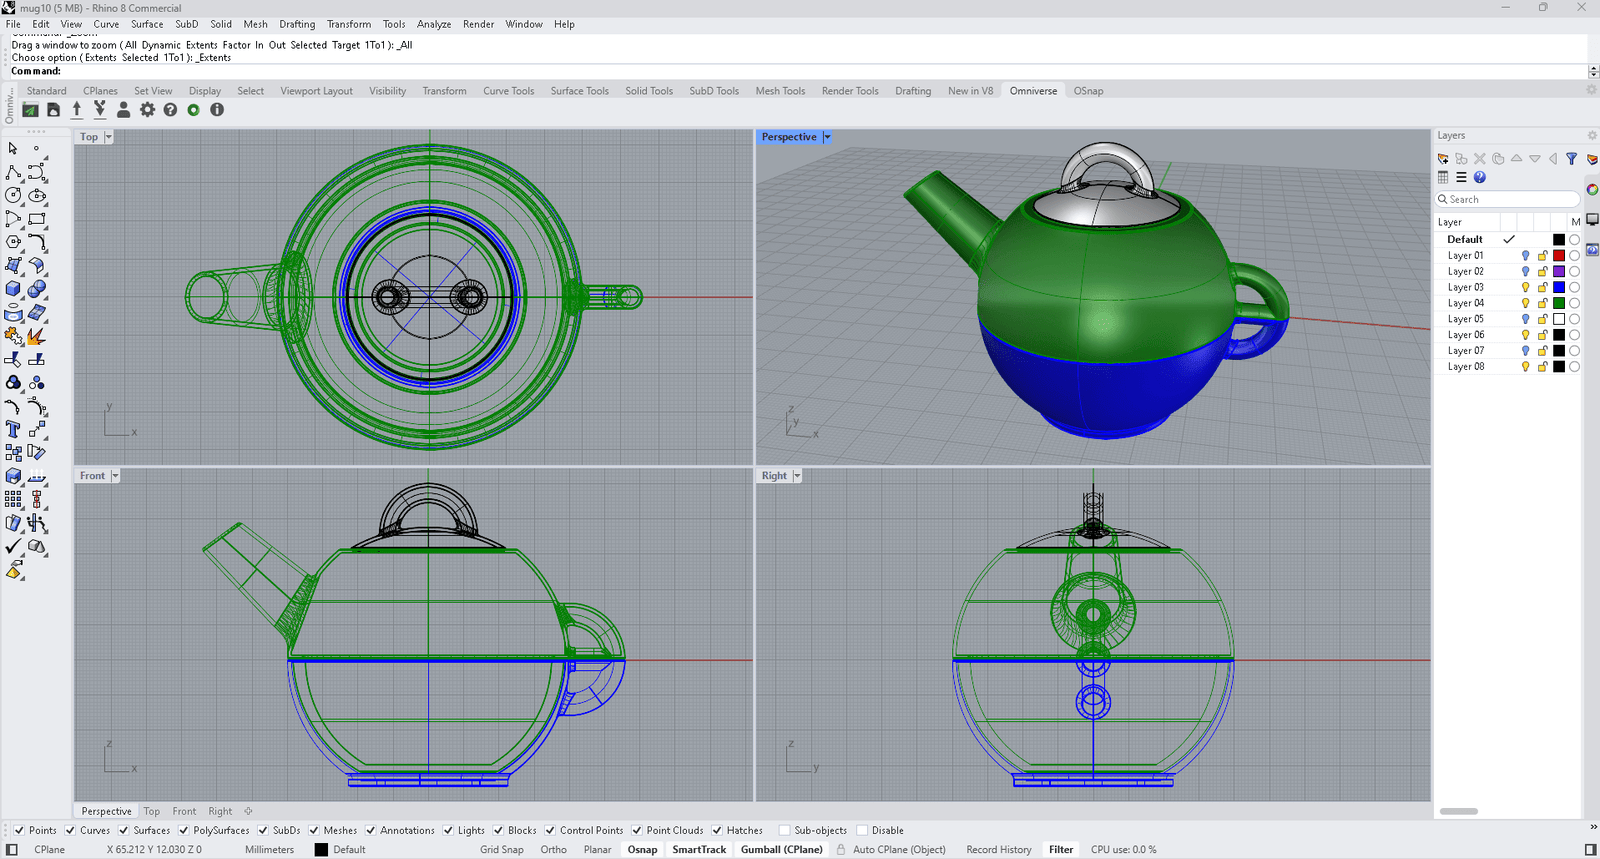
Phase 3 — Advanced software: Rhinoceros
For advanced levels we work with Rhinoceros, software that’s standard in design studios, jewellery, and architecture. It combines complex curves with highly controlled surfaces. Here the design remains parametric, but the software’s possibilities become far more sophisticated.
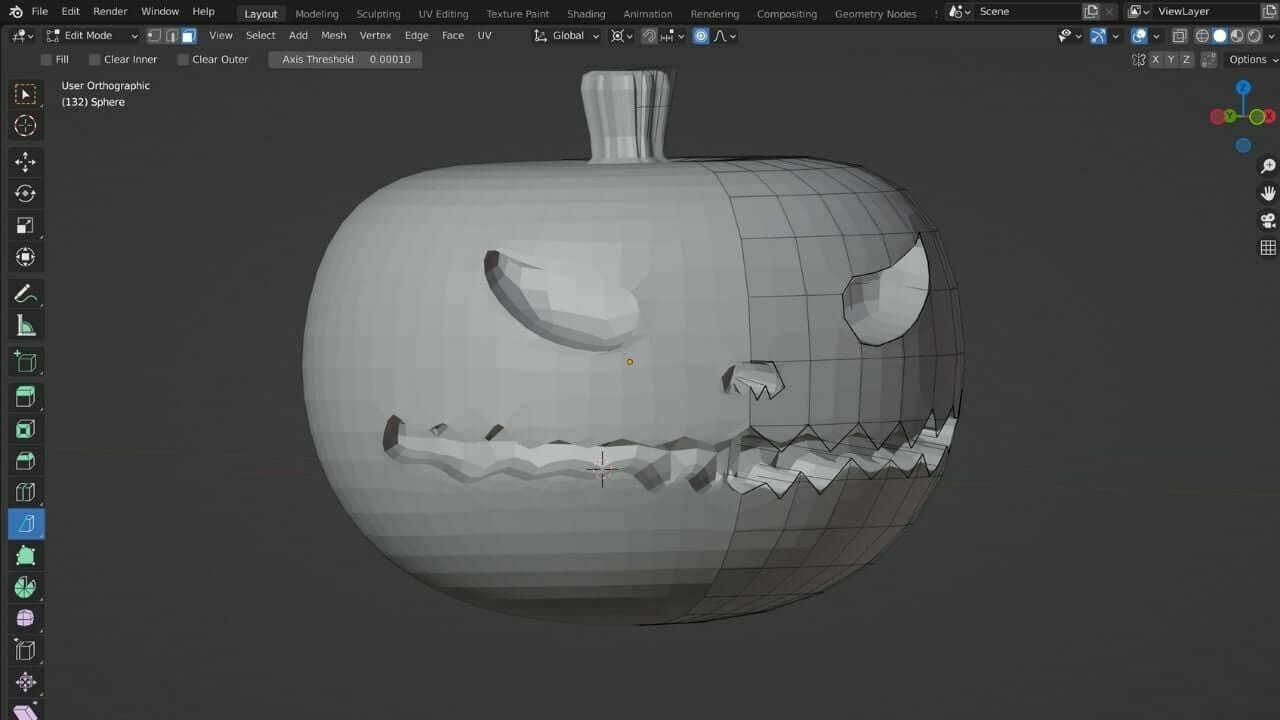
Phase 4 — Organic software: digital sculpting
Once the parametric foundation is solid, we introduce organic and sculptural modelling software like ZBrush or Blender. This type of software lets you work with free-flowing curves, model shapes inspired by the body or nature, and add sculptural detail without losing sight of the fact that the piece will eventually need to be printed.
The goal isn’t to get lost in detail, but to understand when it makes sense to use organic software and when it’s better to solve something with a clean parametric approach.
The physical side: from software to printer
All this work with software would mean little if the result stayed on the screen. At Nodos we use Bambu Lab printers to bring the pieces from the screen to life. These printers are fast, stable, and highly reliable with complex parts.
Because of that, you see your designs turned into real objects within hours. You can hold them, test them on the body, spot improvements, and go back to the software to iterate on the design. That screen–printer–body cycle is a central part of our methodology.
What does this approach give you as a student?
Learning to choose and use the right software at the right time is a skill in itself. Here’s what you get with the Nodos approach:
You think like a designer, not just a software user. You understand the difference between parametric software (more geometric and precise) and organic software (more sculptural and fluid) — and above all, when to use each so your piece can be printed and looks the way you want it to.
You work with real industry software. You work with real industry software. We start with Tinkercad so you lose your fear of volume, move on to Shapr3D so you learn to design in a professional CAD environment, and finish with Rhinoceros once you’re ready for complex projects.
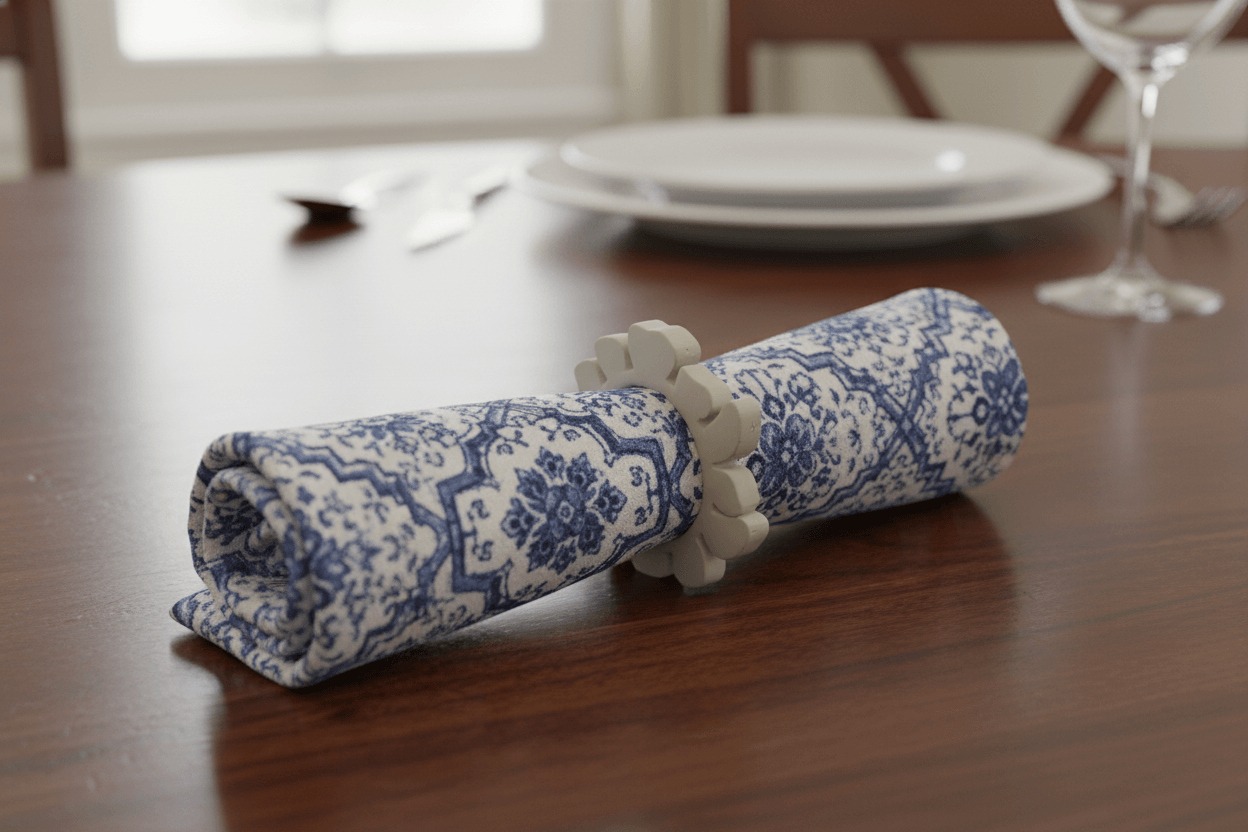
Your projects leave the screen. You don’t stop at a pretty render: we print, test, and refine your pieces using criteria of functionality, aesthetics, and sustainability.
You develop your own language with volume and material. The idea is not that you finish the course “knowing how to use software”, but that you understand how form, material and body interact. That’s what makes a piece stop being a classroom exercise and start resembling an object that could live in the real world.